Demo Firmware
Note - If you have bought an ESP32devkit module from K2Audio then the firmware will be already loaded.
This demo firmware is just a basic skeleton that gives a demonstration of some of the features of the esp32 and the breakout board
It is a stripped down version of the firmware used in some other K2audio products so there are quite a few routines left in there that don't really do much at the moment. They have been left because we were too lazy to take them out and they may be useful to anyone doing their own thing with the firmware. They are provided 'as is' with no guarantee of any kind.
If you are using espHome with Home Assistant then it would probably be best to just overwrite this firmware and use the excellent espHome system. If you are more inclined to tinker or just want to make sure everything is working then you might want to play with the test firmware.
FLASHING the firmware
You will need to use one of the Espressif flash download tools or use the python tool to load the firmware.
https://www.espressif.com/en/support/download/other-tools
There are four files initially, and each one needs to be loaded into a specific memory position as follows:
ota_data_initial 0xd000
bootloader.bin 0x1000
app-template.bin 0x30000
partitions_two_ota 0x8000
CONNECTING to the module
Use a smartphone or computer to scan for a wireless network called ESP32-home.
Connect to this network, the default password is K2AUDIO! You will likely get an 'internet not available' message, just ignore that.
Open a browser and go to http://192.168.4.1
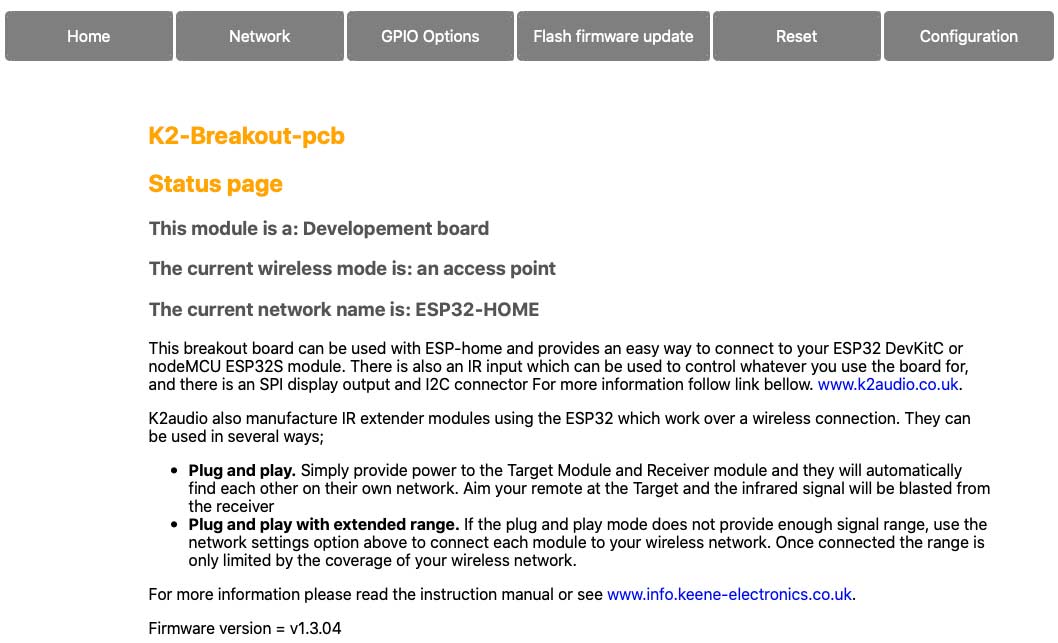
You should now see the module home page.
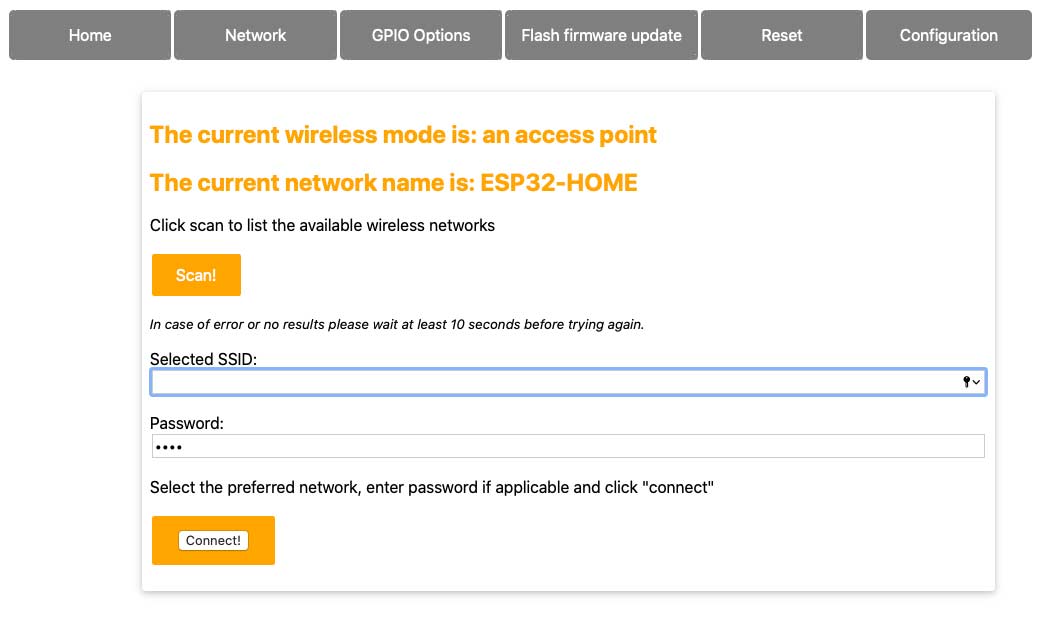
Tap the menu icon and choose network (a small square of horizontal lines)
Tap scan. Wait about 20 seconds
Tap scan again, and if all is well you will see a list of available networks
Select the one you want.
Enter the password and click 'continue' Remember to press backspace to get rid of the four stars first!
After a few seconds you should see the screen change and show the IP address of the module on your chosen network
Allow about 15 seconds for the module to reboot with that IP address.
Use a PC, MAC or linux machine that is on the same network and enter the IP address into the address bar of a browser.
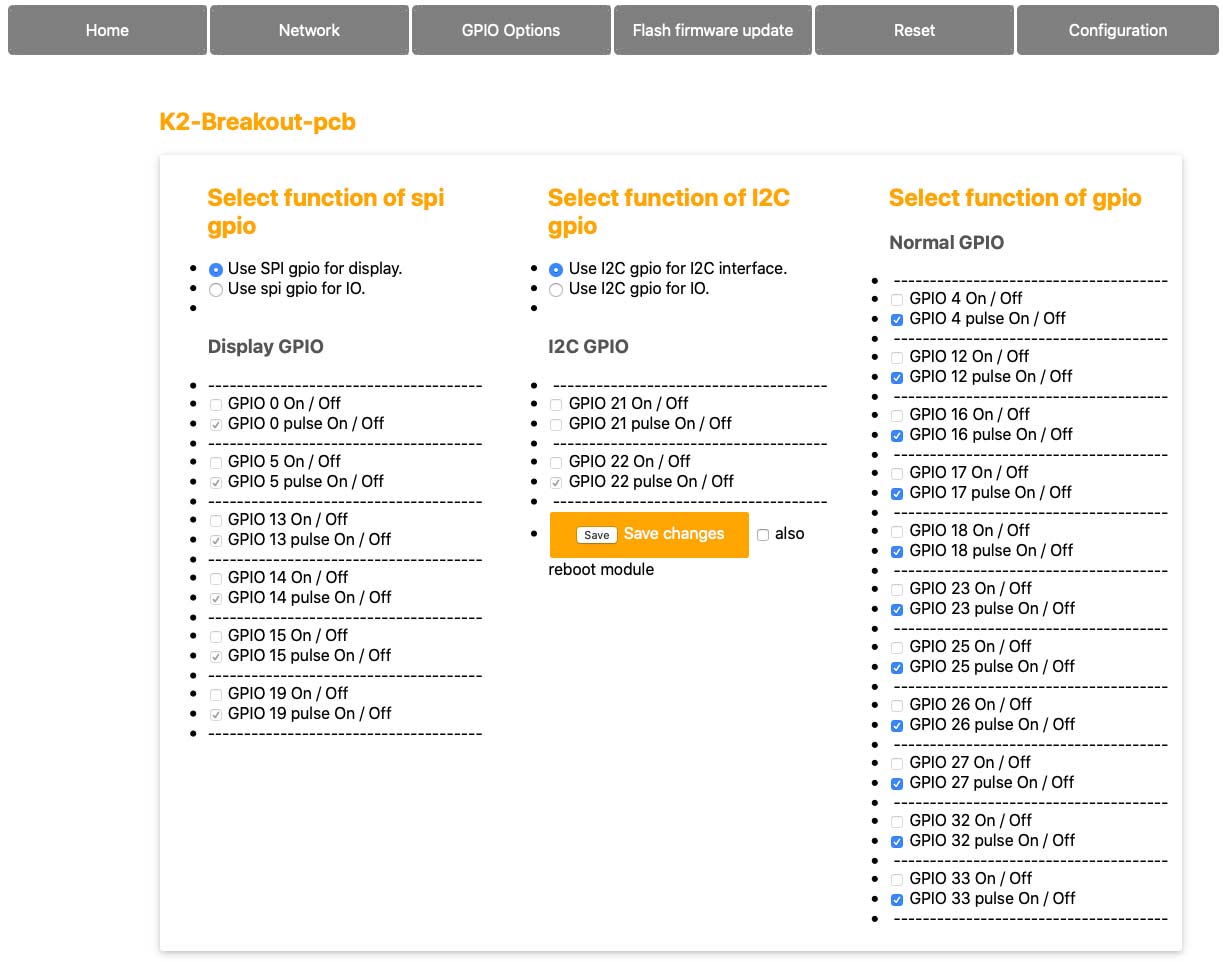
You should now see the modules web pages and be able to experiment with some of the GPIOs.
DISPLAYS
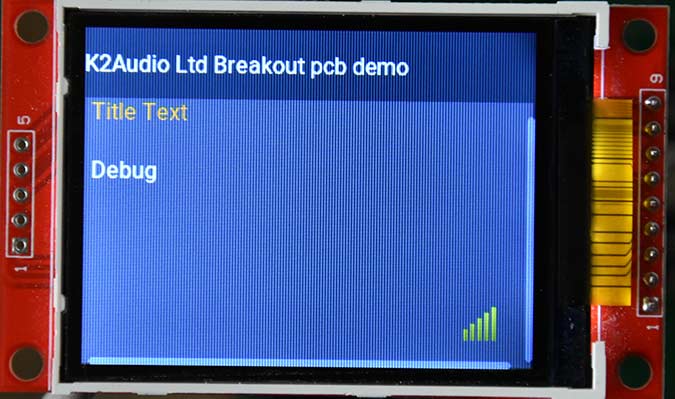
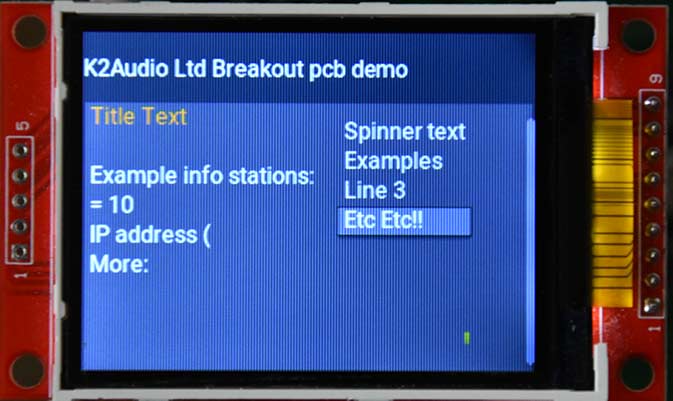
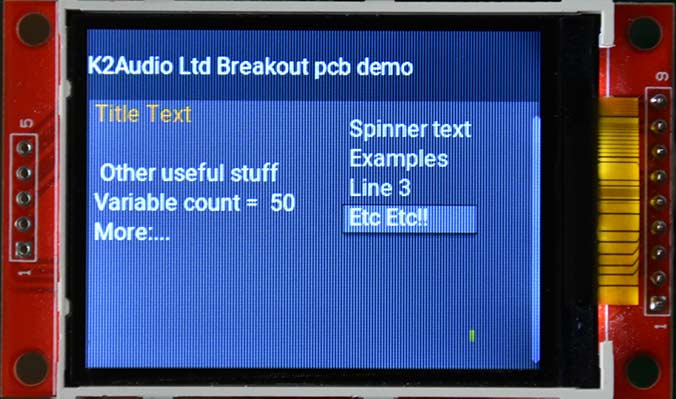
You can connect either a SPI display or an I2C display.
The demo firmware only supports an spi ili9341 display, the sort often used for the Arduino. Be careful getting one of these as some use a different driver and will not work so double check that it uses an ILI9341.
The pinout for the driver is
Display pins
for https://github.com/littlevgl/esp32_ili9341
MISO not used
LED_BACKLIGHT_ON_OFF GPIO0
CLK GPIO14
MOSI GPIO13
DCRS GPIO19
DISPLAY_RESET GPIO15
CHIP_SELECT GPIO5
GND
+3V3
This demo firmware does not do much more that just 'proof of concept' there is a screen with a few bits on it that is all. But hopefully that will be enough to get most people started.
BUILDING the firmware with Eclipse
Set up Eclipse as per these instructions
https://docs.espressif.com/projects/esp-idf/en/latest/get-started-legacy/index.html
Make sure esp-idf is in the C:\ESP\esp-idf.
So for example there will be a C:\ESP\esp-idf\components directory.
Licenses and thank-you's
We would like to thank all of the many open source projects that have been cobbled together to create this demo firmware
Chris Morgan https://github.com/chmorgan for his excellent work in getting the libesphttpd firmware working on the esp32 also Jeroen Domburg for the original firmware
There are some parts of the libesphttpd that incorporate code from others, thanks also to the authors of these, the espfs file system the heatshrink compression software and any others that are used..
The display driver is from here https://github.com/ubIQio/esp32_ili9431 again many thanks and the graphics library is from https://github.com/littlevgl/lvgl