First steps
The first thing to do is connect your KiraMTR module to your network and plug in the power supply. The next step is to access the built-in web pages and configure it as required. Once the module has been configured you can normally perform all required tasks by accessing the modules own browser pages or by controlling with another app.
To find the module on your network and configure to you requirements you will need to use the utility program. This can be freely downloaded here
Save the file IRAnywhere.zip to a local folder and then unzip the contents.
Locate the folder called "Java Utility program".
Within this folder click on "kira.exe" (if using Windows) or "kira.jar" (if using a Mac). Note - no installation is required, the program will just run.
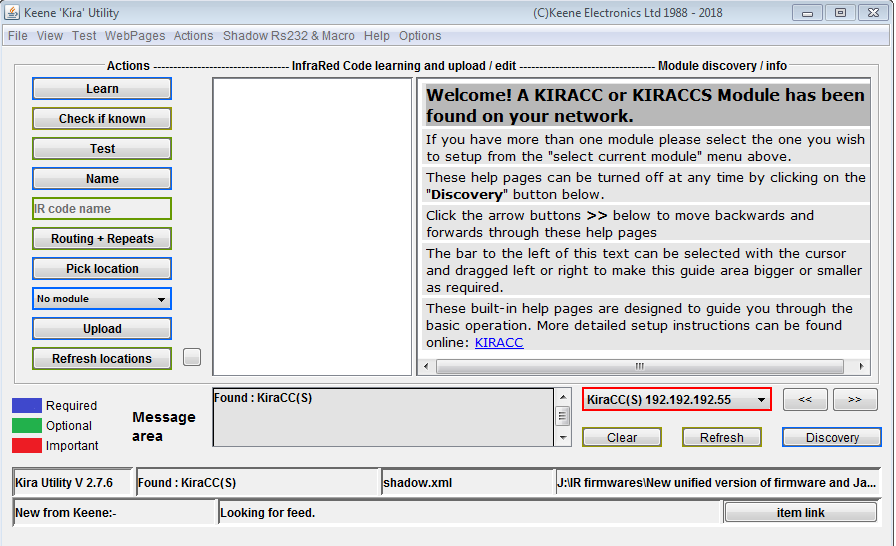
The Java Utility program will scan your network and report back any compatible Keene KIRA modules that it finds.

The module IP address should be listed at the top alongside "select current module". You can now enter this IP into your browsers address bar, or from the java program select "web pages" and then "open module home page".
The utility program is used with other members of the KIRA family for the capture and storage of infrared code, as well as other less common tasks such as firmware upgrades. Since the KiraMTR is used with a hand held remote control for point to point operation the capture and storage elements are not applicable.
It is also possible to connect to the module by typing the host name into your browser address bar. If still at factory default this will be
http://KIRA_MTR
(note the lack of "www")
