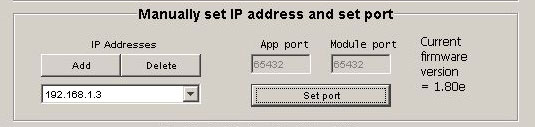
UDP IR Port
The default is port 65432. If you want to enter a different port simply click “new port” and enter the desired number. (Valid range is from 10000 to 65535). This will only affect commands sent using this program. The module port shown should always match. If changed it will take two to three seconds to take effect.
This configuration option would be useful for sending commands to multiple modules via the internet.
When sending from outside of your local network the only IP address you can send to is the WAN address of your broadband router. At the router you would set-up port forwarding on UDP port 65432 to the local area network IP address of module A
To send to a second module you would need to change the port that module uses to say 54321 and at the router set up port forwarding on UDP port 54321 to module B
So from outside you local network if you send an IR code packet to your WAN IP address on UDP port 65432 it will go to module A and sending to your WAN IP address on UDP port 54321 will go to module B. It is easy to do this on a PC or Hand held device and if using another modules you would have to configure one receiver module on the default port of 65432 and one on port 54321. The target address in both cases is your WAN IP address.
Set Subnet
This should only need to be used if your network does NOT use DHCP and you have attached the modules to a network with a address that is not 192.168.1.xxx.
Assume your local network has a 10.0.0.xxx base. You do not use DHCP and you have attached the modules.
Your PC will not be able to see them because they are on a different subnet. If you now press the change subnet button all of the IP addresses used by ALL ATTACHED MODULES will be changed to match your network. The default address for a target module is 192.168.1.31. This will be changed to 10.0.0.31. The gaetway will be changed to 10.0.0.1 etc. By typing http://target into your browser bar you should now be able to reach the module as it is in the same subnet and then able to configure the module as required.