RS232 X10 Control via CTX35
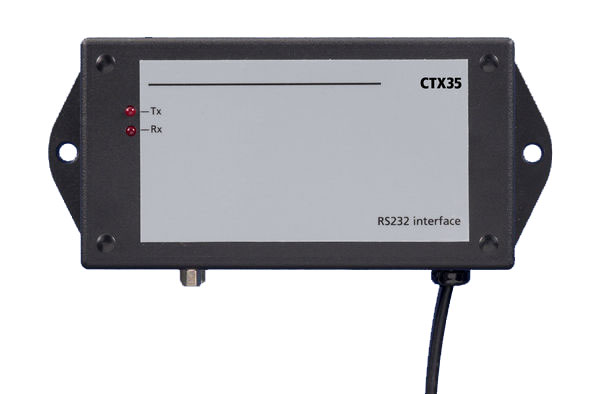
The CTX35 is an X10 to serial interface. You can use the KIRACC RS232 port to communicate with this device and X10 commands can be easily stored and sent in the same manner as any other RS232, IR or relay command. The Java application contains a utility to allow you to generate the codes in the correct format for the CTX35.
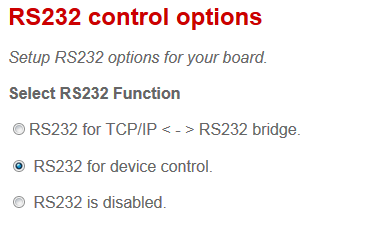
First check that the correct RS232 mode is selected; RS232 for device control
and that the baud rate is set to 19200
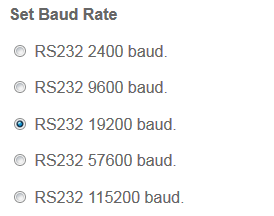
If you needed to alter any of these to make them correct remember to click “save & reboot” afterwards.
To launch the code generator click on "View" and choose "CTX35 Code Generator" from the drop down. You should now see the following panel:
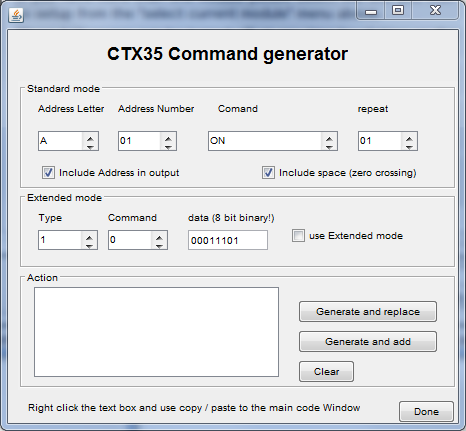
In the "Standard Mode" panel simply select the House Code address and number for the X10 module you wish to control, the type of command (ON,OFF etc) then click on "Generate and replace". A string should appear in the "action" window. For example an A1 ON code string would look like
$>28001A01 AONFD#
Right click and copy this code string. Next launch the Shadowfile Editor and paste this copied string into the RS232 string builder panel (top right). Now pick a free memory location and then click "Move to code window". The X10 command you generated should now be showing within the code window and with the correct RS232 annotation. Give it a meaningful name and then click "previous" or "next" to store it to the shadowfile. Lastly send this shadowfile code (or group of codes) to your modules memory using the "send all to module" or "send current location to module". You can treat these RS232 X10 commands exactly the same as if they were an IR code so you can freely mix IR and X10 codes within the available memory to suit your needs.
There are a few options you can explore:

The repeat function allows you to create multiple commands within one code string. For example the X10 "dim" command sent once makes for a very small change in overall brightness. You can set the "repeat" for up to 16 consecutive "dim" commands with one push of the button. Experiment to find the dim & brightness settings you find best suited to your requirements.
"Include address in output" allows you to target a specific address or issue a general command. The "include space" option inserts a pause (space) in the command for a more reliable, if fractionally slower, X10 command. We recommend you leave this box checked.
![]()
Advanced features:
Extended mode commands are not supported by all X10 modules. If you you are unsure please leave this section alone. If you wish to use them check the "extended mode" box and enter the type and command as desired. As an example the LM12UE lamp module does support extended codes and so you could generate one command to turn on the lamp module to a preset dim level. Without extended code support a lamp module would require two commands to achieve the same; one to turn it on and another to dim to the required level.

LM12UE example of extended code:
Type=3 (module) command=1 (on)
Data (8 bit binary) the first two data bits represent time although are not supported by most X10 modules and should be left at 00. The next 6 digits represent brightness levels; all 1's = maximum brightness, 000001 = 2% brightness. Experiment to find your desired level.
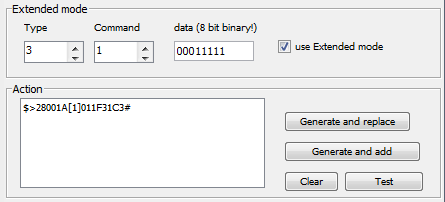
In the above example a data of 00011111 would give 50% brightness. It is beyond the scope of these instructions to delve much deeper into extended X10 commands but further information can be found within the instruction manual for the CTX35.